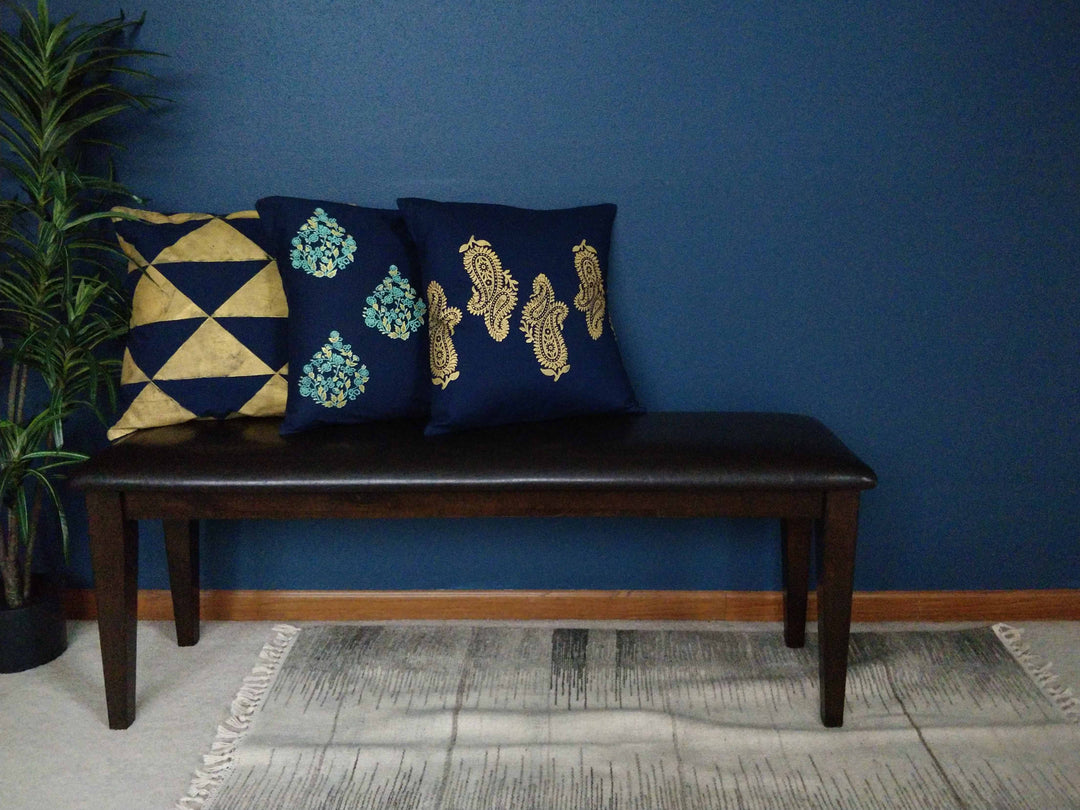

Block printing 101: How to block print
Now that everything is prepped, lay the fabric you want to print on the padded surface.
Use the brayer to spread the ink on the tray, ensure the brayer is lightly saturated with ink. Roll the brayer over the block. If you apply too much ink, then the print gets blotchy. If you apply the ink unevenly, the print is too light and not crisp.
Now let’s block print!
- Find an anchor point. I usually use the part near my wrist as the anchor for stability.
- Slowly place the block on the fabric from bottom to top of the block.
- Make a fist, using the side of the fist and whack the block. Once or twice is ideal, but if you have pent up rage, whack the block until you feel better. You can use the side of you palm or wrist to hit the block.
- Hold the fabric with your other hand. Put light pressure on the anchor point and lift the block slowly in reverse
To avoid the print from smudging:
- Do NOT lift the block straight up
- Do NOT move the block even slightly
Block printing is a skill, which requires a lot of practice to get perfect and flawless. Give yourself grace and time to learn and make mistakes. Find you own style and flair to make your block printing unique. But most importantly, have fun 😊
Check out my blog for more information, and hit follow to learn more about block printing