
Block Printing 101: Prepping the materials
Once we have sourced the materials we need, next we need to prep the environment for printing, the fabrics and the inks.
Creating the optimal printing environment:
Prepping the printing space is key to creating a smooth print. I use a mix of a blanket and sheets, that I found at a local thrift store. Keep running your hands over the sheets to feel any wrinkles and remove them. If you don't remove the wrinkles, this will create an uneven surface, and will show up on the print.
You will need to create 6 layers. Do some trial prints to know if its too bouncy or too hard. You can do trial prints on scrap paper or scrap fabric as well, to assess your comfort level.
Add or remove layers if needed. It takes time like Goldilocks to get it right. This step takes time, especially if you are printing yards of fabric. But taking time to do this step properly, will have a huge impact on the final result.
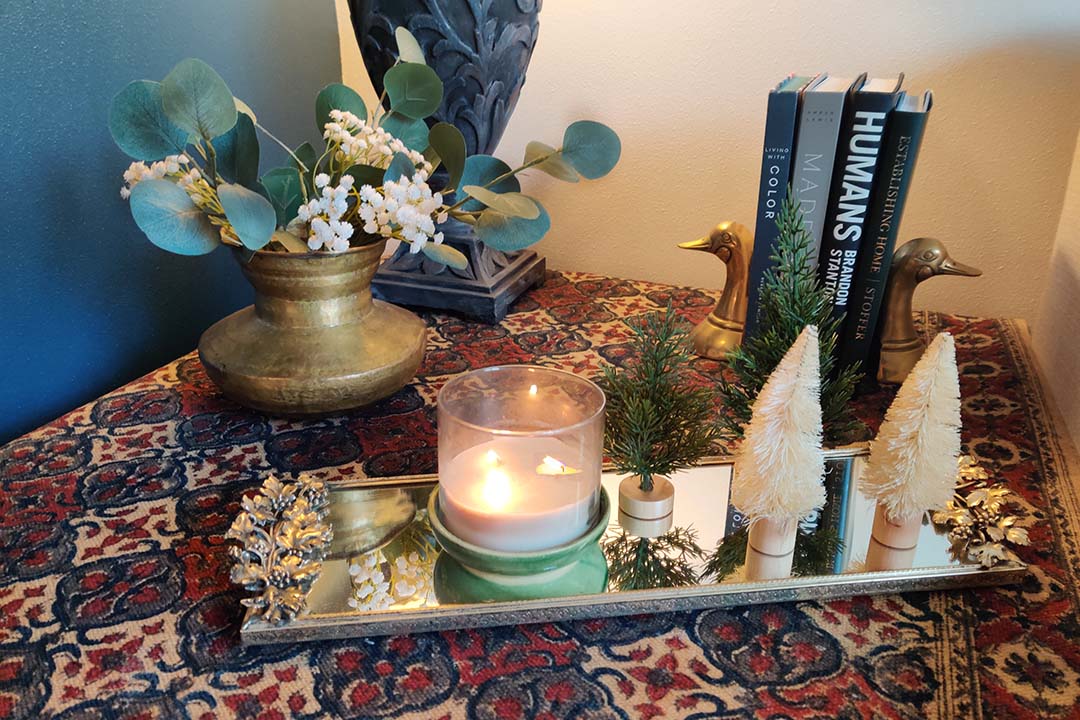
Prepping the colors:
Make google your BFF to find how to mix the colors. Want teal? Google 'how to mix teal paint' and google will show you the proportions needed. This way you can invest in the primary colors and create any shade from that.
Test the color on the fabric. This is important because the color of the ink will get absorbed differently on a non- white fabric. You can test it on the corner, or test it on the inner hem of the outfit to see how the color shows up on the fabric. No one’s gonna know!
You can also use a fixer, if you would like to block print in large quantity. A fixer will help the inks to bind better to the fabric and make it colorfast.
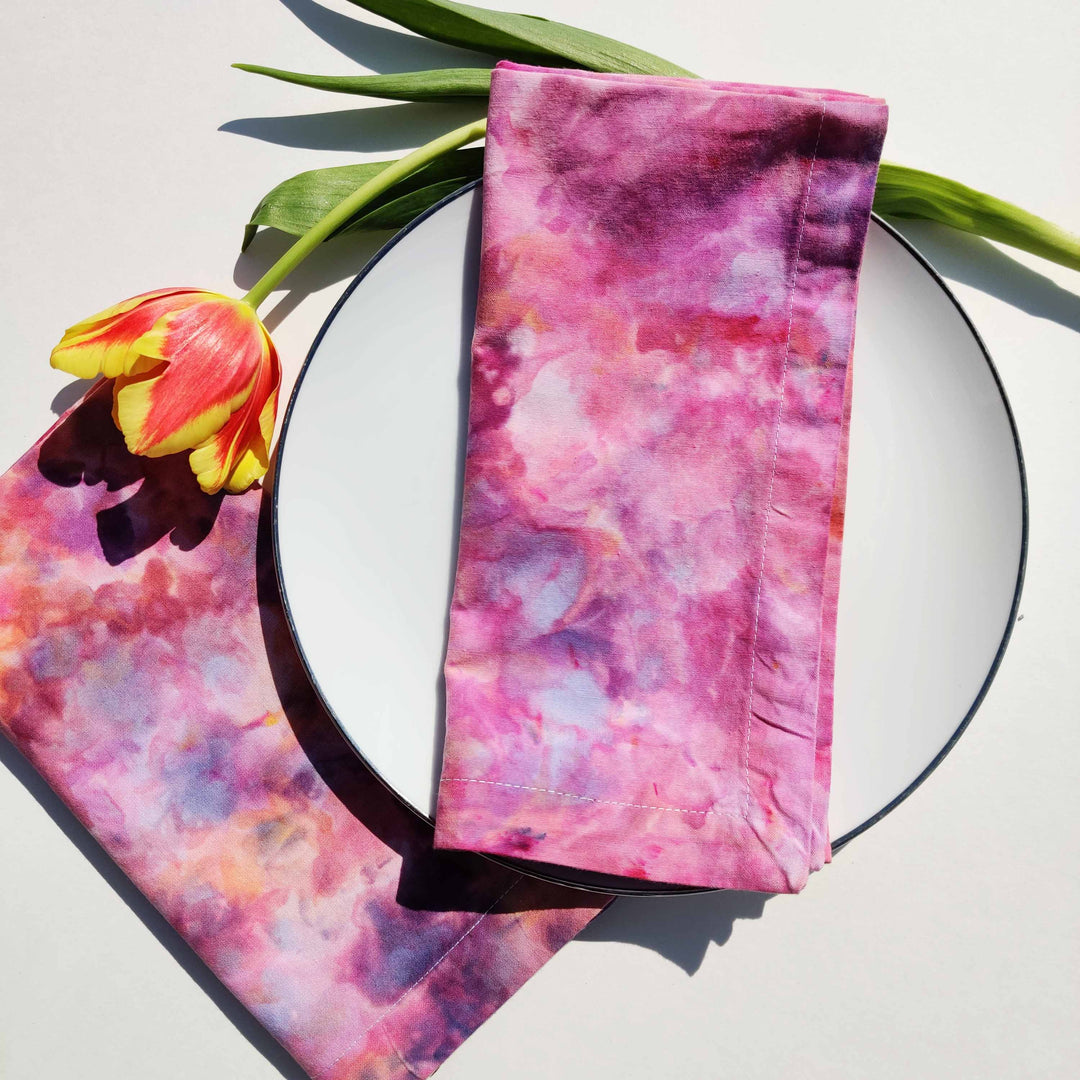
Prepping the fabric:
When using natural fiber fabrics it is important to remember the fabric will shrink after a wash. It is best practice to pre-wash and iron your fabrics before printing.
Check out the next blog post :